


Shopify
Configuration
The configuration page allows you to customise the behaviour of Shopify Bridge.
IMPORTANT NOTE: Due to its very customisable nature, Shopify Bridge requires a certain level of technical knowledge to configure. If you are not comfortable with the configuration, place a few different test orders, with various payment methods, and contact us at support@hubrise.com, mentioning the EPOS you are using. We will be happy to help you!
Orders
Order Statuses

In this section, you can customise how status changes in HubRise are reflected in Shopify.
For each HubRise order status, specify the corresponding Shopify order status. To ignore a status change, select Do not map.
Service Types

In the Service type ref code field, enter the ref code for the service type that your EPOS expects for Shopify orders. Refer to your EPOS documentation on our Apps page to check requirements.
Expected Time

Support for expected times in Shopify requires a plugin, as Shopify does not natively support this feature.
If you do not use expected times, leave the Values to use drop-down menu set to None.
Otherwise, you will have to decide between two options for how expected times are encoded by your plugin: One value containing both date and time, or Two values: one for date, one for time.
To determine how your plugin encodes the expected time, place a test order and review the logs in the Orders page. Look for the note_attributes field in the order JSON, and identify the attribute(s) that contains the expected date and time. If you cannot find the expected time in the note_attributes field, contact the plugin developer for support.
Based on the selected option in the Values to use drop-down, one or two fields will appear, where you can specify the order attribute name(s) that contain the expected date and time.
If your plugin uses one order attribute, the supported formats are the following:
- ISO 8601. For example:
2021-07-22T12:00:30+02:00. - Unix timestamp. For example:
1642422302.
If your plugin uses two order attributes, the supported formats are the following:
- The date must be a parsable date or time, for example:
dd/mm/yyyy,yyyy-mm-dd, or an ISO 8601 string where the time part is ignored. - The time must be a parsable time, for example:
hh:mm:ss,hh:mm, or an ISO 8601 string where the date part is ignored.
Payments

The Payments section lets you assign a ref code to as many as 15 different payment methods.
For every supported payment method, enter its exact name as it appears in Shopify orders, along with the ref code expected by your EPOS.
To determine the name of a payment method, send a test order to HubRise and review the logs in the Orders page. Search for the payment_gateway_names attribute in the order JSON, which will display a value such as Stripe or PayPal: this is the name you need to enter in the Name in Shopify field.
To find the ref codes to use, refer to your EPOS documentation on our Apps page.
Multi-site

If you support multiple stores from the same Shopify website, you need to configure the Multi-site section.
Each location must be connected to Shopify Bridge and identified by a unique value. Orders are only forwarded to the location that matches the configured value.
In the Multisite value in dropdown, select how orders are routed to the correct location:
- Order attribute: Route orders based on a custom order attribute. This is useful when you use a plugin that adds a location identifier to the order.
- Shipping method: Route orders based on the shipping method selected by the customer. This is useful when each location has a distinct shipping method.
Order Attribute
When Order attribute is selected, the following fields appear:
- Name of the order attribute for multi-site: The name of the order attribute that contains the location value.
- Value(s) for this location: The value(s) associated with the current location. You can specify multiple values separated by a comma.
To find the name and value to use, place a test order and review the logs in the Orders page. Look for the note_attributes field in the order JSON.
Shipping Method
When Shipping method is selected, the following field appears:
- Shipping method code(s) for this location: The shipping method code(s) associated with the current location. You can specify multiple codes separated by a comma.
To find the shipping method code, place a test order and review the logs in the Orders page. Look for the code field within shipping_lines in the order JSON.
Catalog
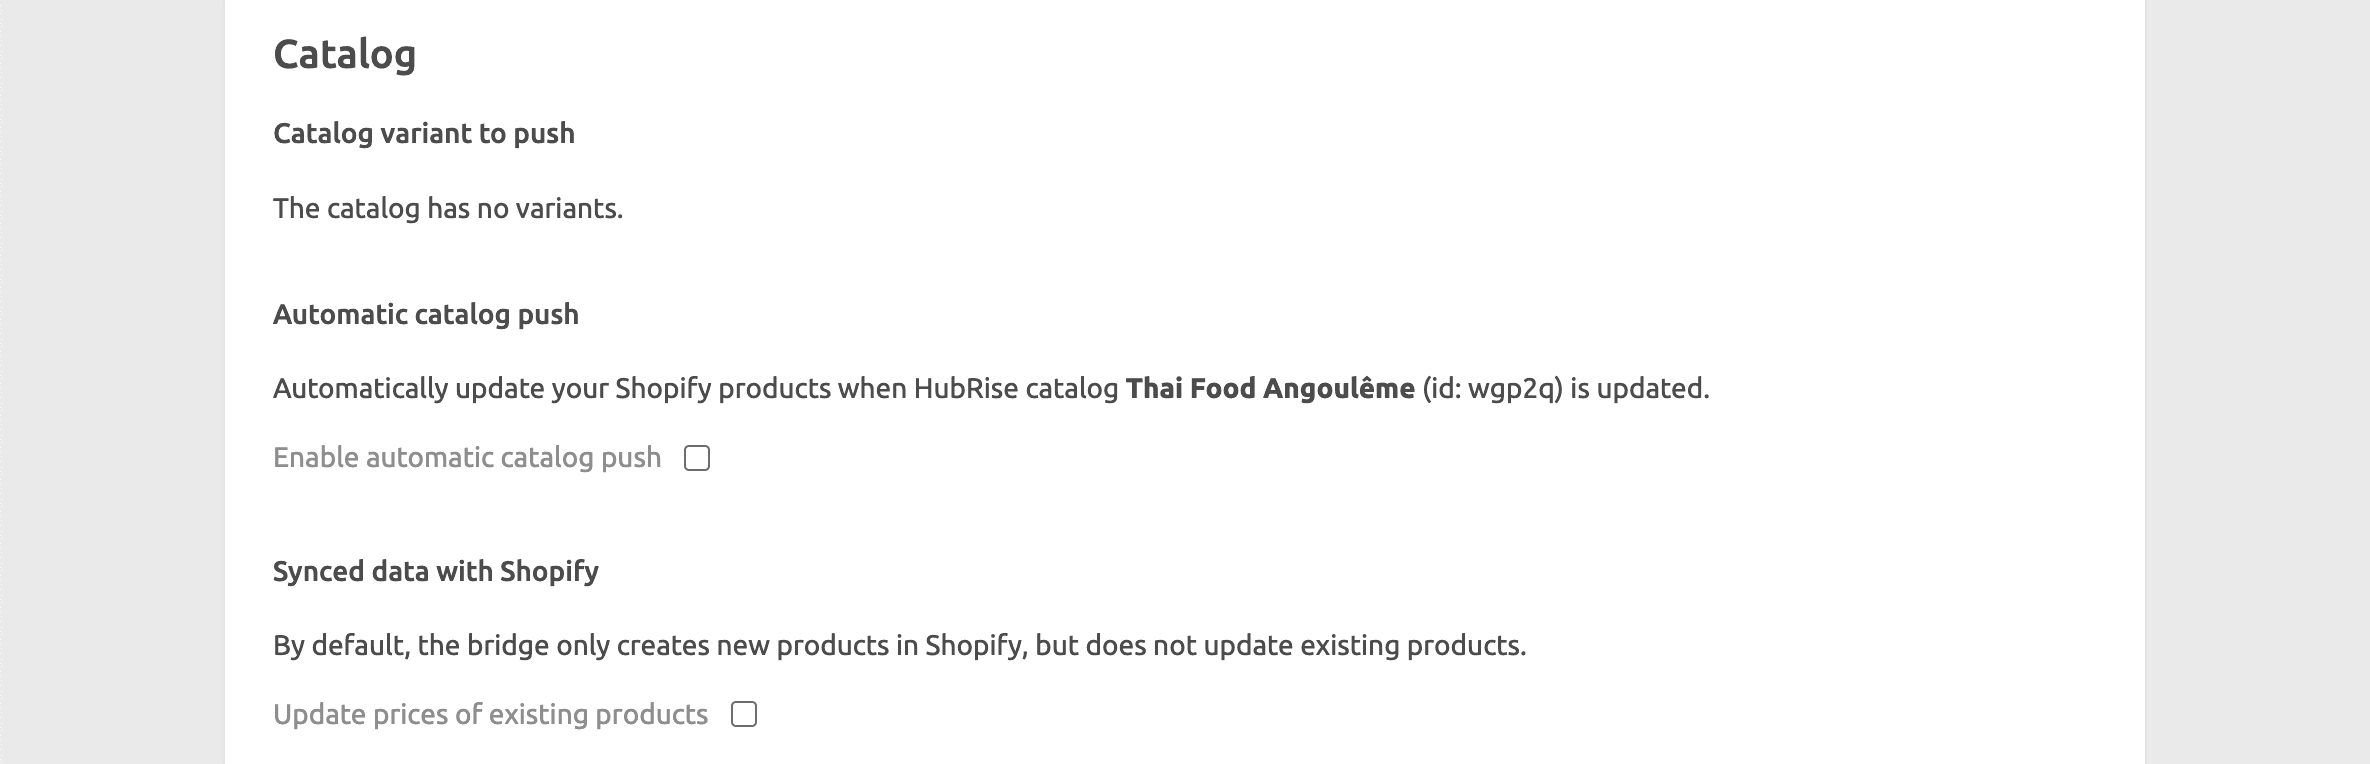
Catalog Variant to Push
Catalog variants give you the flexibility to disable specific items or adjust prices for your Shopify website. For more information, see Catalog Variants in our Catalog Manager online documentation.
If your catalog includes variants, you have the option to select which one to use. When (none) is selected, the default items along with their standard prices are used. If your catalog has no variants, the menu will be hidden and a message will be displayed.
Automatic Catalog Push
If you want to automatically update your Shopify products every time your HubRise catalog is updated, tick the Enable automatic catalog push checkbox.
Synced Data with Shopify
By default, when you push a catalog into Shopify, Shopify Bridge creates new products in Shopify but does not update existing products. To update prices of existing products, tick the Update prices of existing products checkbox.
Location

If your Shopify account has multiple locations, select the location which is associated with the Shopify Bridge. This is used for inventory management.
Inventory

The Inventory section lets you configure automatic updates of the Shopify inventory counters when the HubRise inventory changes. To enable this feature, tick the Enable automatic inventory push checkbox.
Save the Configuration
To save the configuration, click Save at the top of the page.
Reset the Configuration
If you need to reset the configuration, click Reset the configuration at the bottom of the page.
IMPORTANT NOTE: Resetting the configuration will instantly disconnect the bridge from Shopify.
Resetting the configuration does not delete the operation logs displayed in the main page.